Cabbage Pickle: A Canning Twist on Asian Food or Just Good Eats!

20150719_9Cabbage Pickle

I am a big fan of sauerkraut so when I was at a local farmers market and someone had quite a few large heads of cabbage I couldn’t resist and bought what he had left, 3 monster heads, probably about 2 lbs each! Great! I can make more kraut (which I tend to give away a lot of because so few people make it now). But while at the market I also found a local community cookbook just published and flipping through it, wow! A treasure of old time recipes how could I resist? So I bought that too thinking surely there will recipes I can translate into canning and sure enough, I found one called Cabbage Pickle. No, its not kraut but pickled cabbage!

Lately I have become interested in Asian food and knew this would be a great basis for many recipes since they use a lot of fermentation in their cooking and pickling is one great way to get the taste without the time involved fermenting. So into the kitchen we go

Very simple and easy to do!

Taken from “The Mixing Bowl, County of Bath Community Cookbook” 2014 edition.

Original recipe submitted by Allie Lucinda Hull whose grandmother Annie Jane Kincaid Burns made.

If interested in the original recipe please email me, laura@iempoweredhealing.com and I will email you it. I adapted the original recipe to what I had on hand.

For information on how to use an electric canner please click here (coming soon!)

Ingredients:

1 large head of Cabbage

1 large Onion

1 large Tomato

Makes approximately 8 pints of cabbage pickle

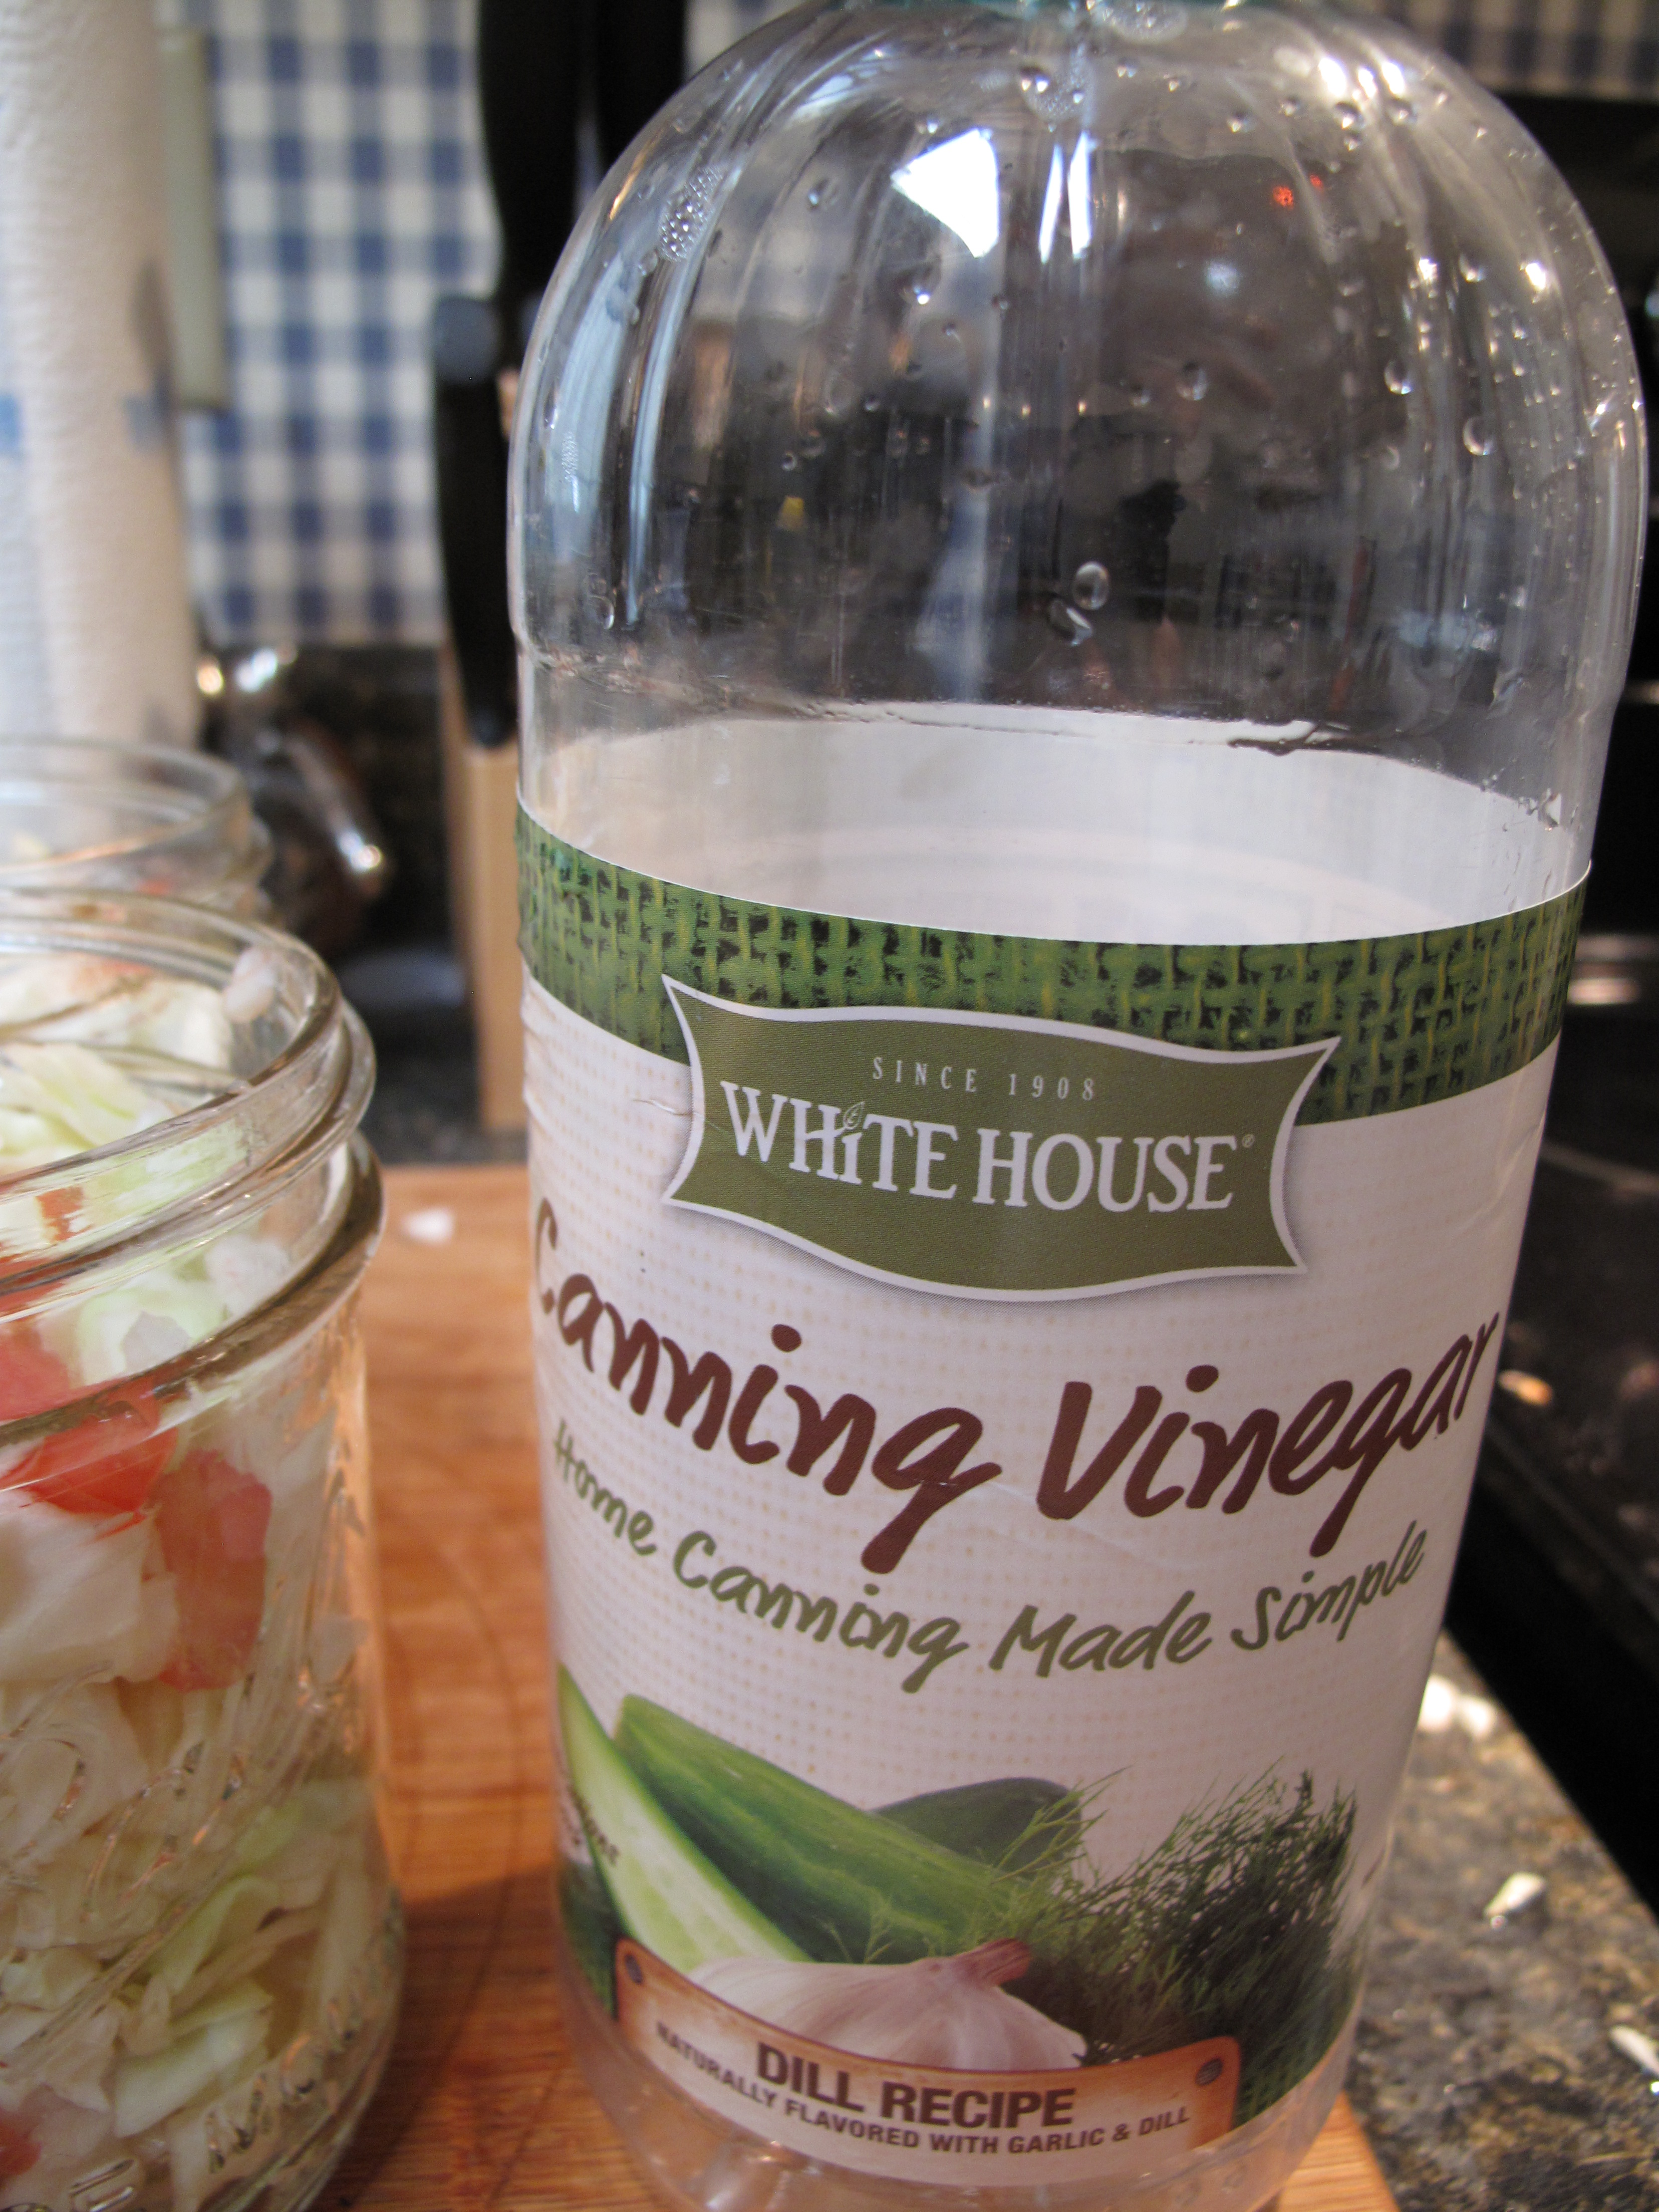
Favorite pickling solution…personally I used a new product by White House called Canning Vinegar and followed the directions on the back. Made it super easy to pickle this! (Dill Flavored)

20150719_3

And of course your water bath canning supplies…get it all ready to go!


Directions:

Get jars and lids ready to pack.

Get pickling solution ready and keep on a simmer while you:

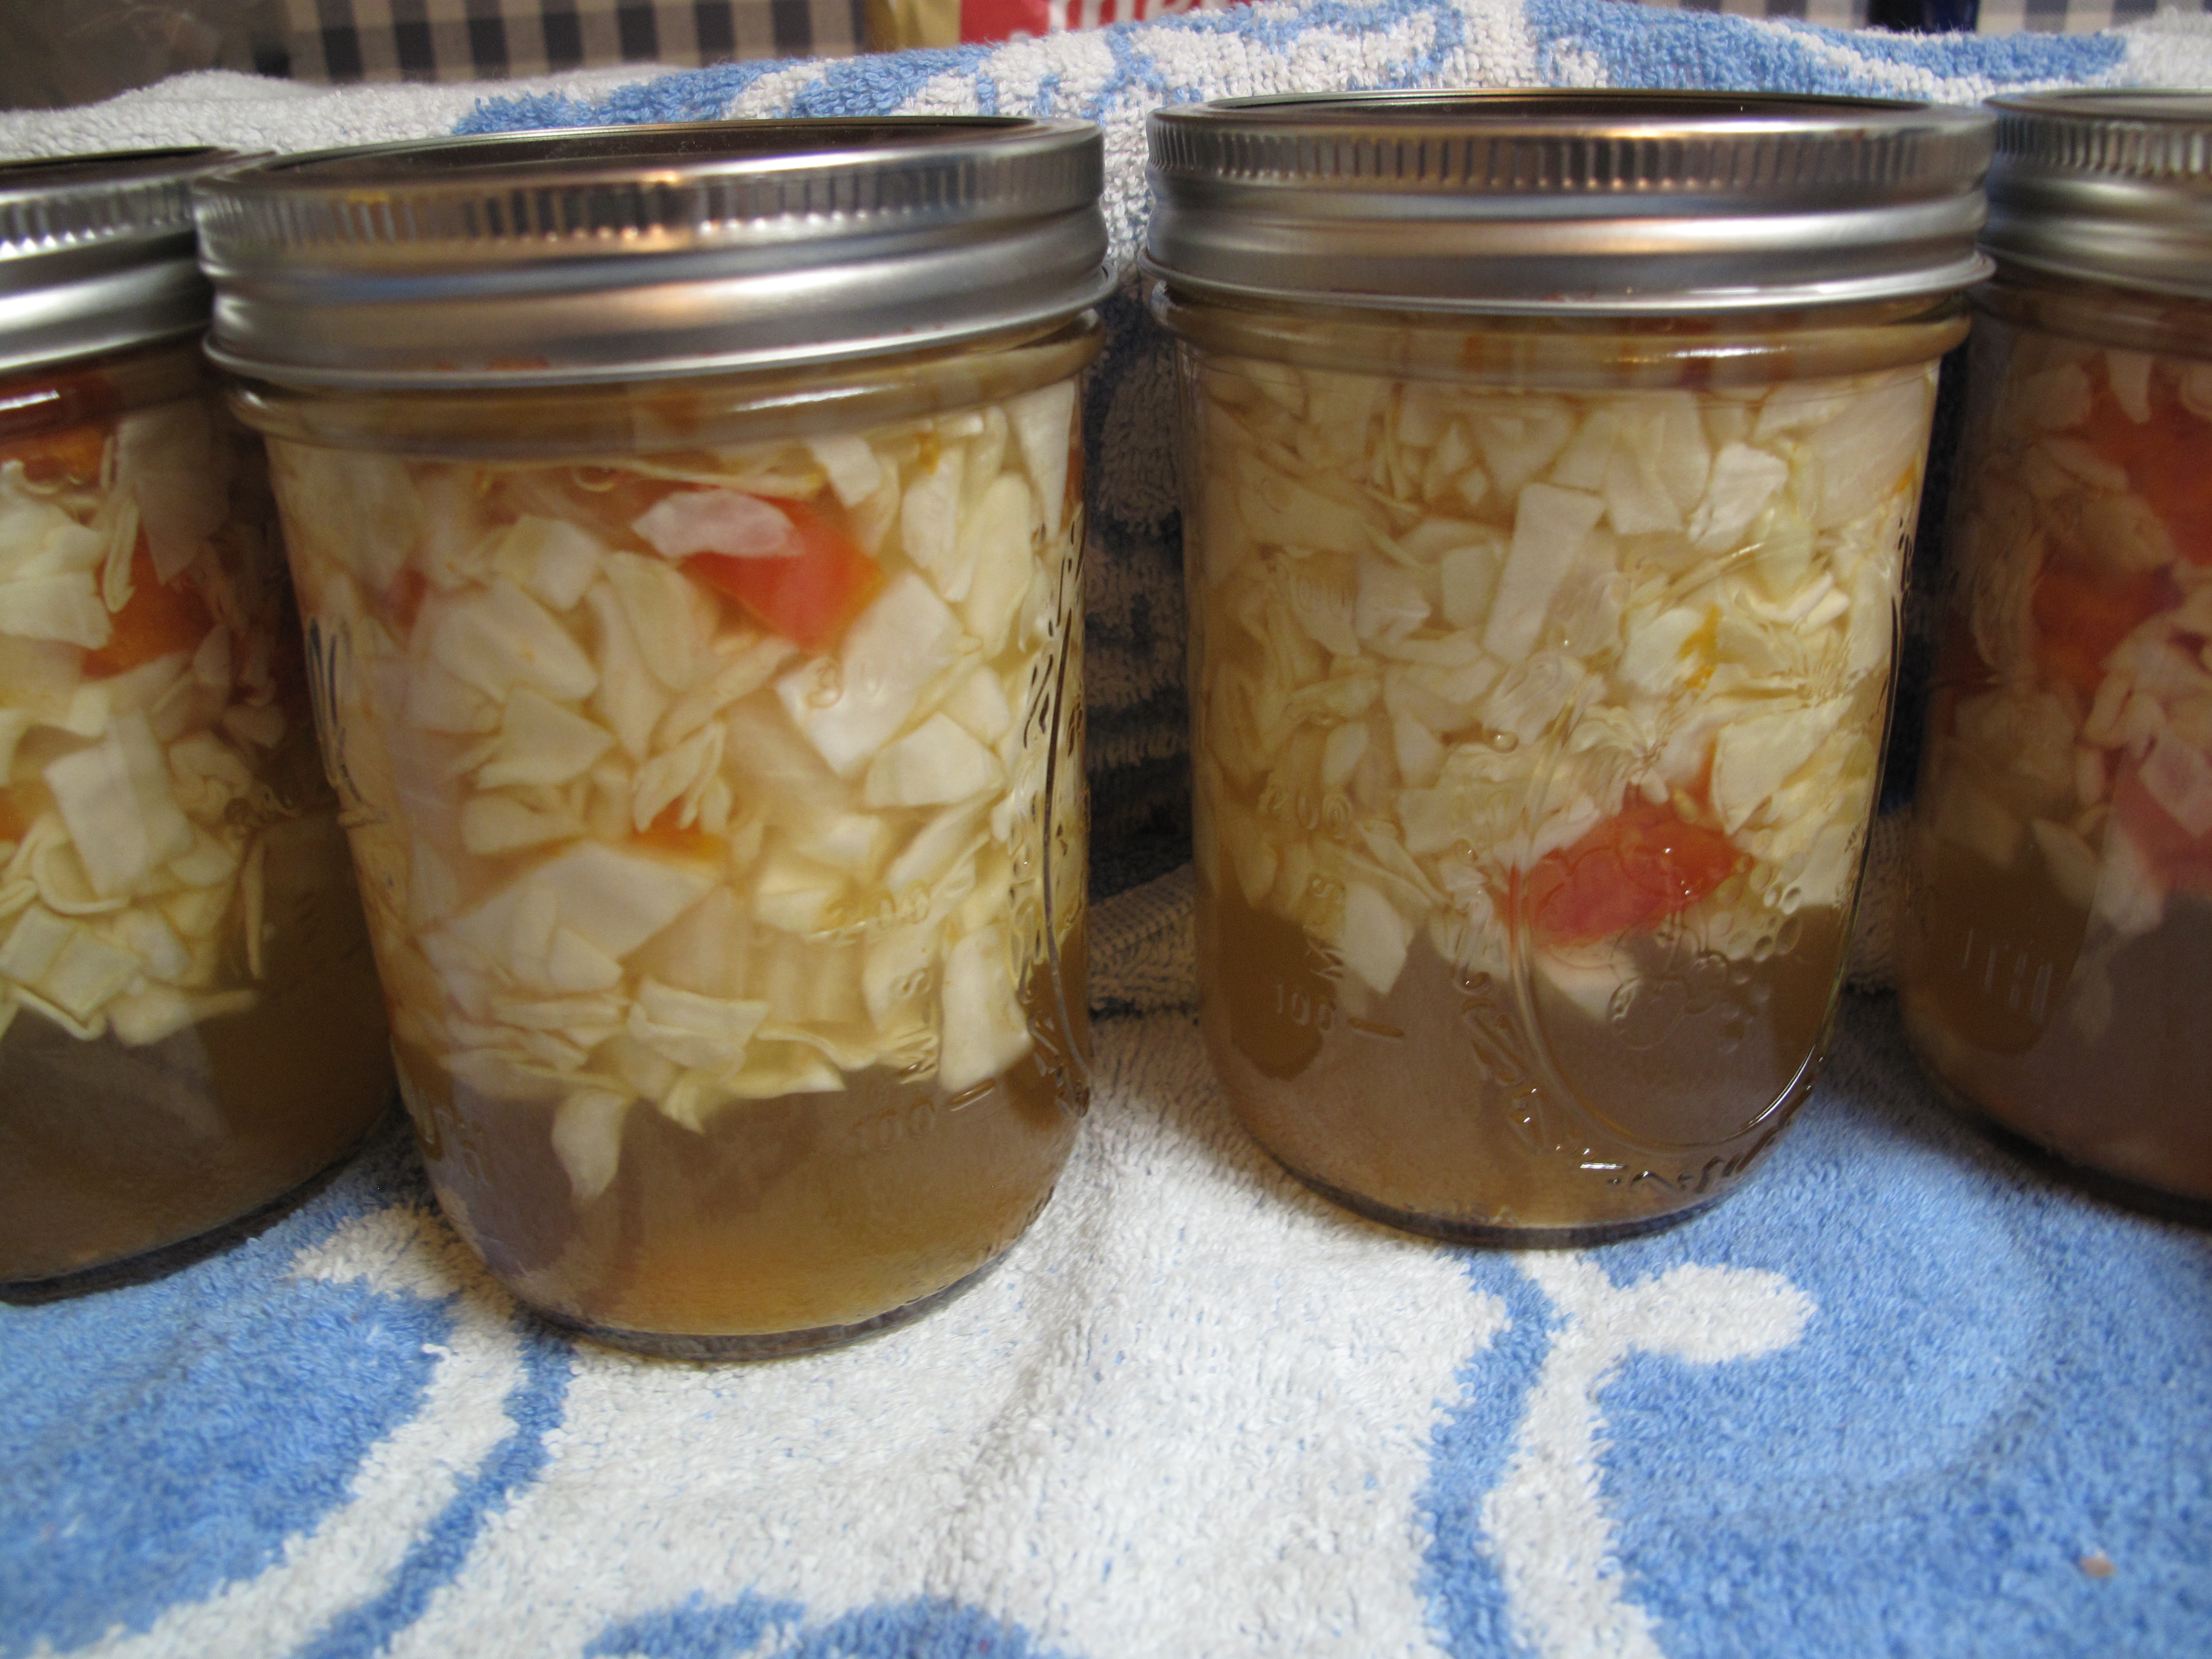
Dice the cabbage, onions and tomatoes to your taste. I kept mine to about 1/4 or so in size. Mix well in a bowl.

20150719_1


Stuff, and I mean STUFF your pink jars with the cabbage mixture to about the ½ inch mark (headspace). Don’t be afraid to really pack your jars full!

Next, ladle your hot pickling solution into the jars leaving ½ inch head space.

20150719_7

Wipe the rims of the jars and add lids.

Next, follow your typical canning instruction for water bath canning the traditional way for pickles, not kraut (the acidity level is for pickles so you are safe on using the pickle time).

After processing the appropriate time (10 minutes for elevations below 1,000 feet, 15 minutes for elevations above 1,000 ft) remove and allow to cool.

20150719_13

That simple!


After cooling we just had to try it out. Wow! Tasty by itself even but it  was really great served cold as a small side with a grilled steak too.

I can just imagine stir frying it up with some seafood or the such too over a bed or rice.

Tell me how you used this!


Enjoy!

The Crazy Canners

You Can Can Cheese! And Dehydrate! How to Preserve Your Own Cheeses

cheese

Alright, I am an admitted cheese hound…don’t believe I have met any cheese that I didn’t like but I always thought for long term storage that you either had to keep it refrigerated or as someone I know did on TV, you had to wax it for long term storage. OR you had to buy the freeze dried stuff at something close to a mortgage payment. Imagine this…you can CAN any cheese (water bath or pressure) or dehydrate it as I did previously with cottage cheese. And do so safely! Ssshhh! Don’t tell the food police I said that!

Dehydration:
Pretty straight forward…I love cheddar cheese but this will work with ANY type of cheese.
20140928_1
Place your chosen cheese on a fruit leather tray thinly and dehydrate at 125 degrees until crunchy and vacuum seal!

There is a catch however. If you use regular cheese you will have to deal with the ‘fat’ that comes out of it. Originally I thought I would get smart and well, put paper towel under it while dehydrating but when I checked it half way through some had ‘melted’ to it. So don’t that at home folks…instead, dehydrate and after doing so place on a towel and pat the oil off and then vacuum seal! Each pouch contains approximately 1 lb of shredded cheddar cheese. Great crunchy snack by the way!
20140928_2

Next, I got squirrelly and tried canning it. You can can any cheese! Quartz, pints or half pints…it up to you as is the method either water bath OR Pressure canner. It is recommended for best results as to texture, taste and color to use the water bath method and here is how you do it:

Just like canning anything you will want sterilized jars and lids…get your canning water going so that it is ready and the lids too.

You will then take your clean jars and place them into a pan or pot that is big enough to hold the empty jars. Next, fill the pot/pan with enough water to get the water level at least 1/3 of the way up the side of the jars.
20140928_3

Turn on the heat and add small amounts of cheese (either shredded or cubed, I used shredded) to each jar, stirring occasionally as it melts. Add more cheese and allow to melt and so on until you have the jars full of melted cheese leaving ½ inch head space.
I used a clean butter/dinner knife to stir.
20140928_4
Turn off the heat. Because most cheese is ‘greasy’ I used straight vinegar to clean the jar lips and ring area. Then add the lids and rings as you usually would. Finger tight and then place into the canner.

If you choose to use the water bath method as I did here are the processing times:
Start the time once it comes back to a boil.

Pints and half pints for 30 minutes
Quartz for 45 minutes

If you are using a pressure canner please remember to build up the pressure as normal and then bring to proper pressure then start your time:

Less than 1,000 feet in elevation:
Quartz: 10 minutes at 10 lbs pressure
Pints and half pints: 5 minutes at 10 lbs pressure

Over 1,000 feet in elevation:
Quartz: 10 minutes at 15 lbs pressure
Pints and half pints: 5 minutes at 15 lbs pressure.

Final product:
20140928_6

As always, remember to carefully take out, place on a towel and cover to allow the processed jars to cool and seal properly. Once cool they will solidify again and presto! Real canned cheese!

Note: best to use wide mouth jars for ease of getting back out!

always faithful
survivingshtfmom

Can Your Butter! Water Bath Canning Real Butter

survivingshtfmom

20141020_5Need a great way to keep real butter safe? Can IT! Yes, you can can butter, safely, effectively and it’s a great way to save freezer space and/or refrigerator space plus put some up just in case the hard times hit.

I will note, this works for REAL BUTTER ONLY. Do not use ‘butter’ that isn’t real, the result will be a mess.

What you will need:
REAL BUTTER
Water Bath Canner
Pint or ½ Pint Canning Jars
Pot to melt butter in.
Vinegar
Small Towel

Prior to beginning melting your butter, be sure your lids are clean. DO NOT simmer your lids continuously, the lids you find now on store shelves do NOT require this and in fact you face seal failure if you keep them simmering. I will place my lids into a pot of water being to a boil and the minute they ‘boil’ I take them…

View original post 330 more words